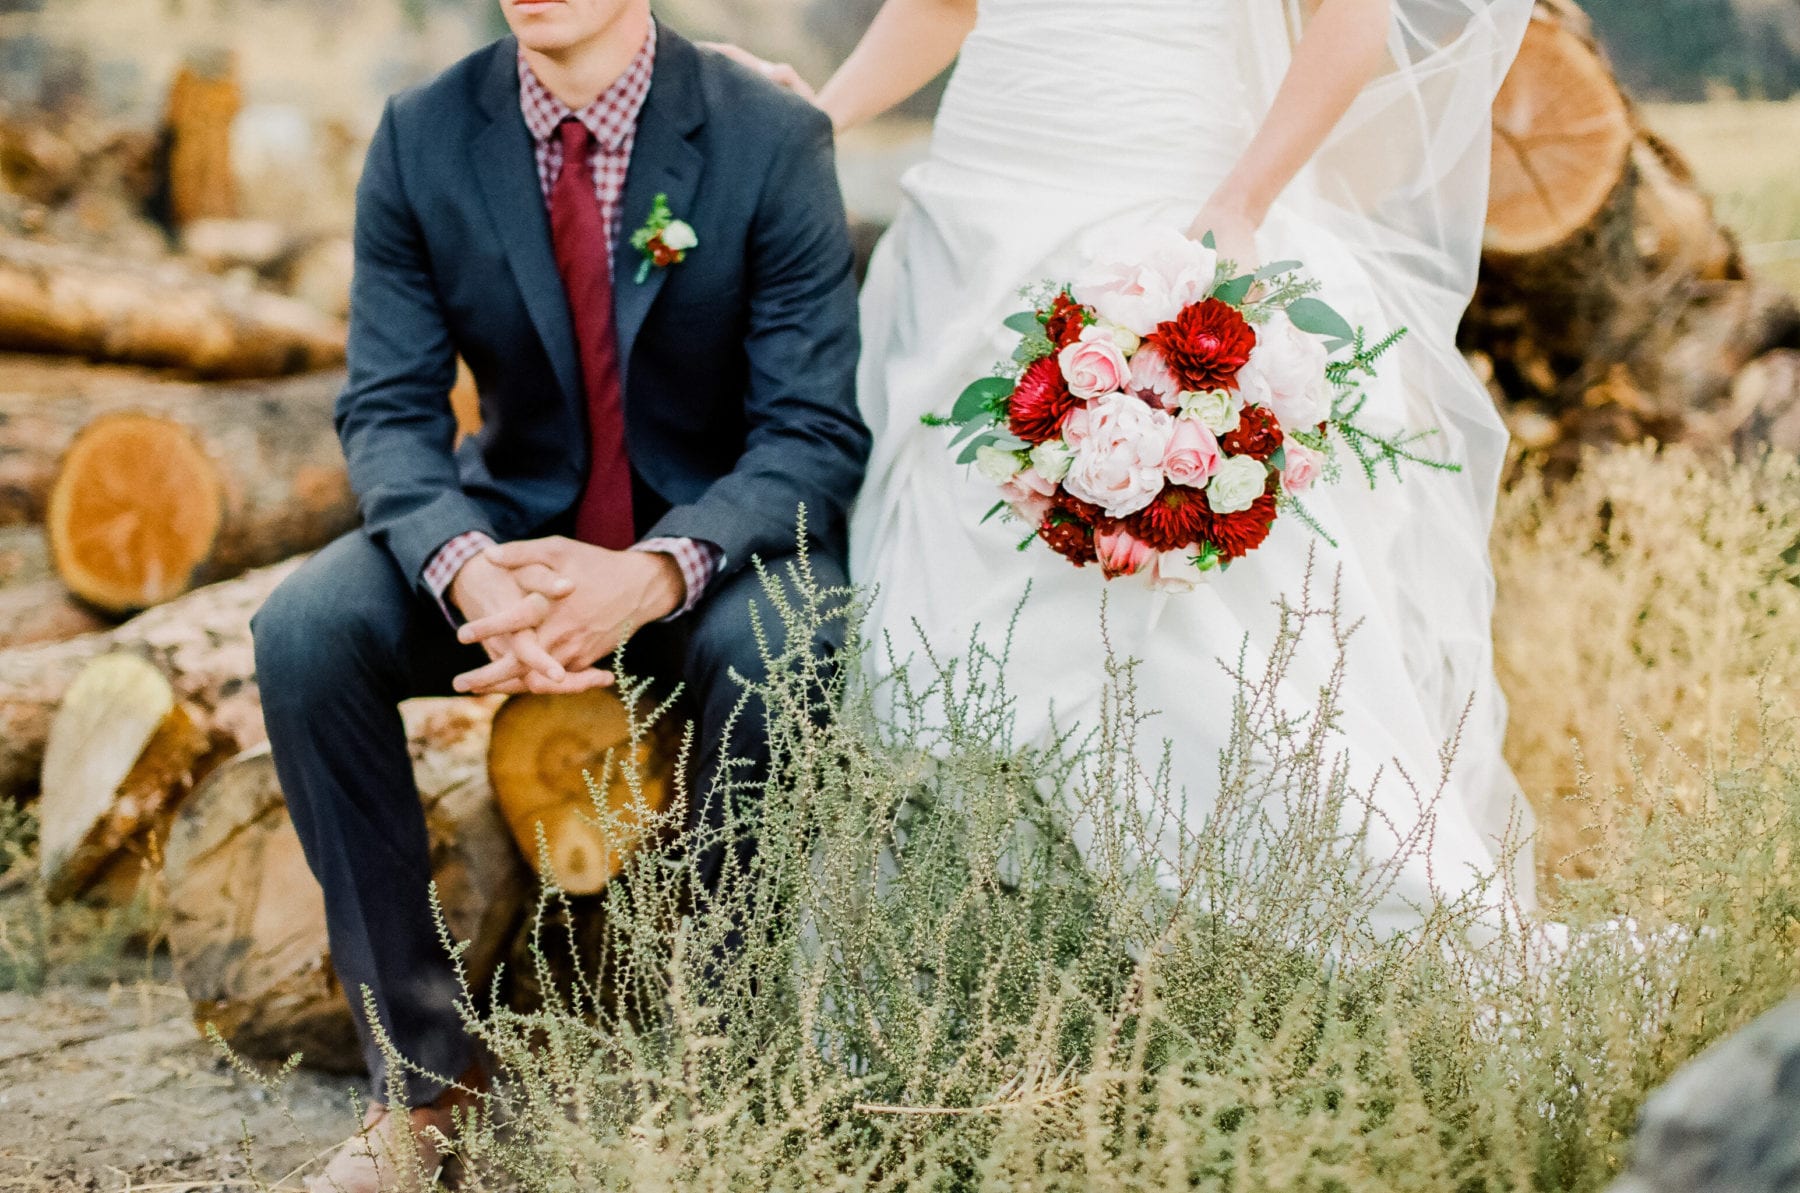
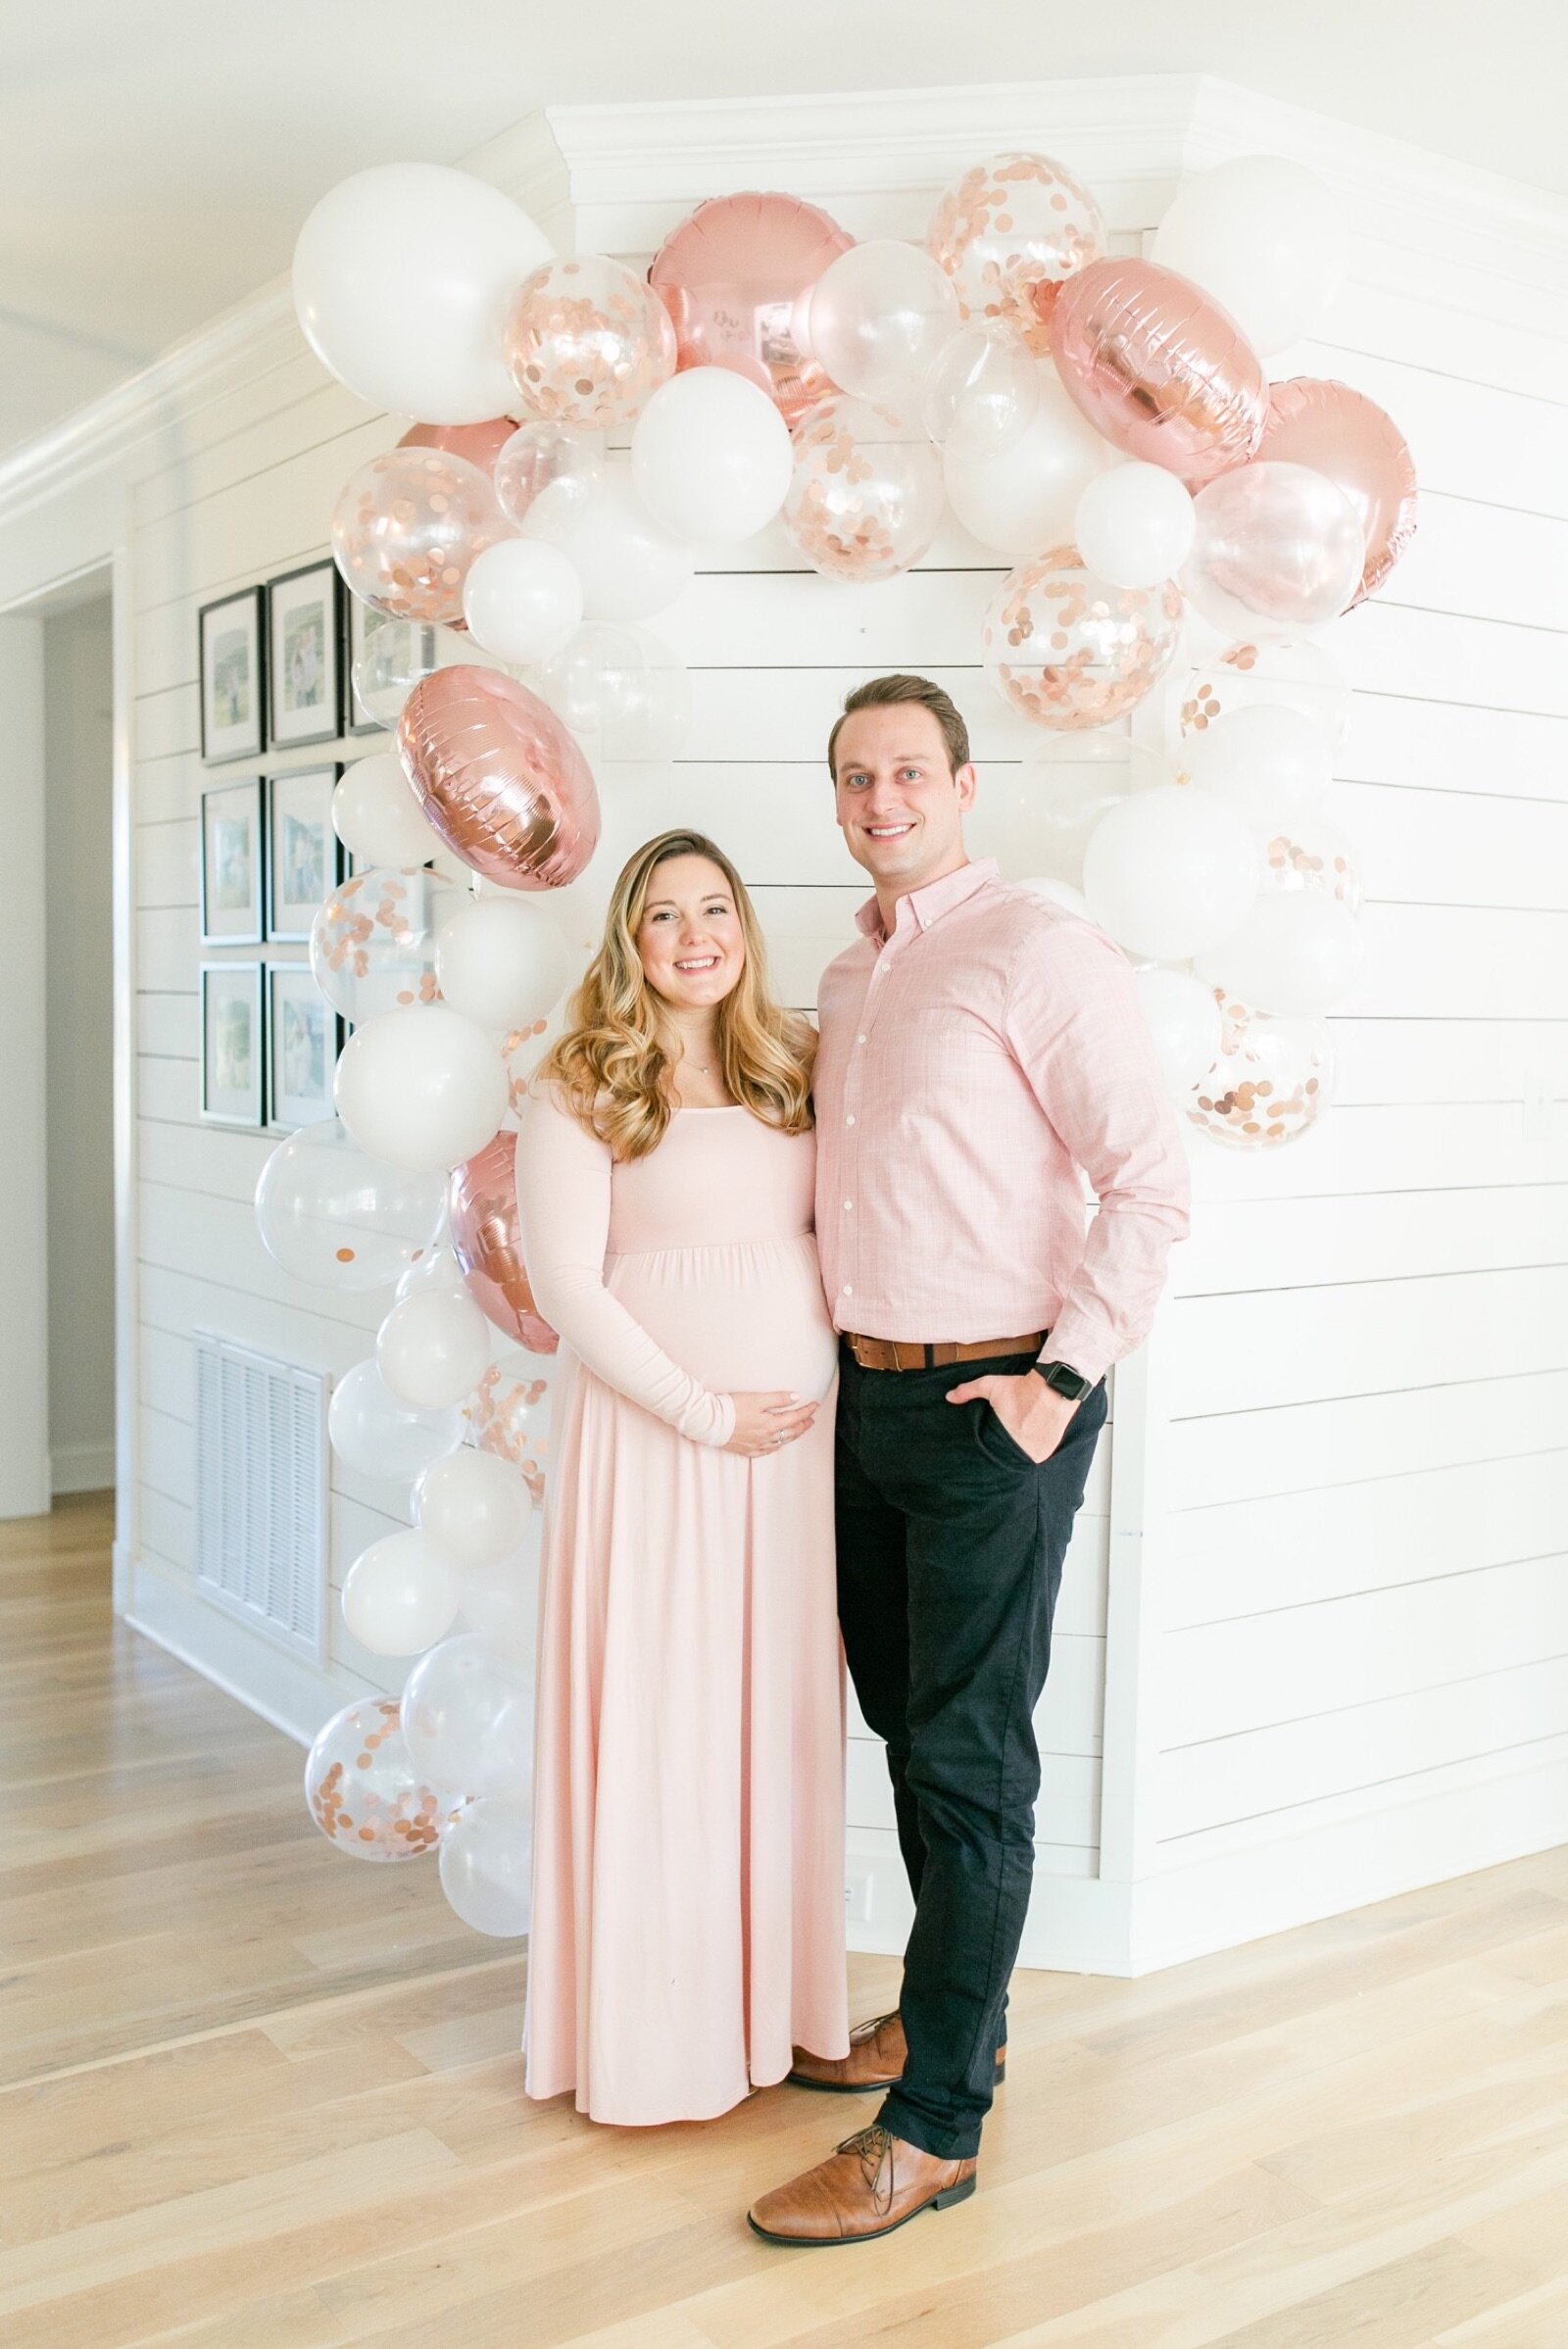
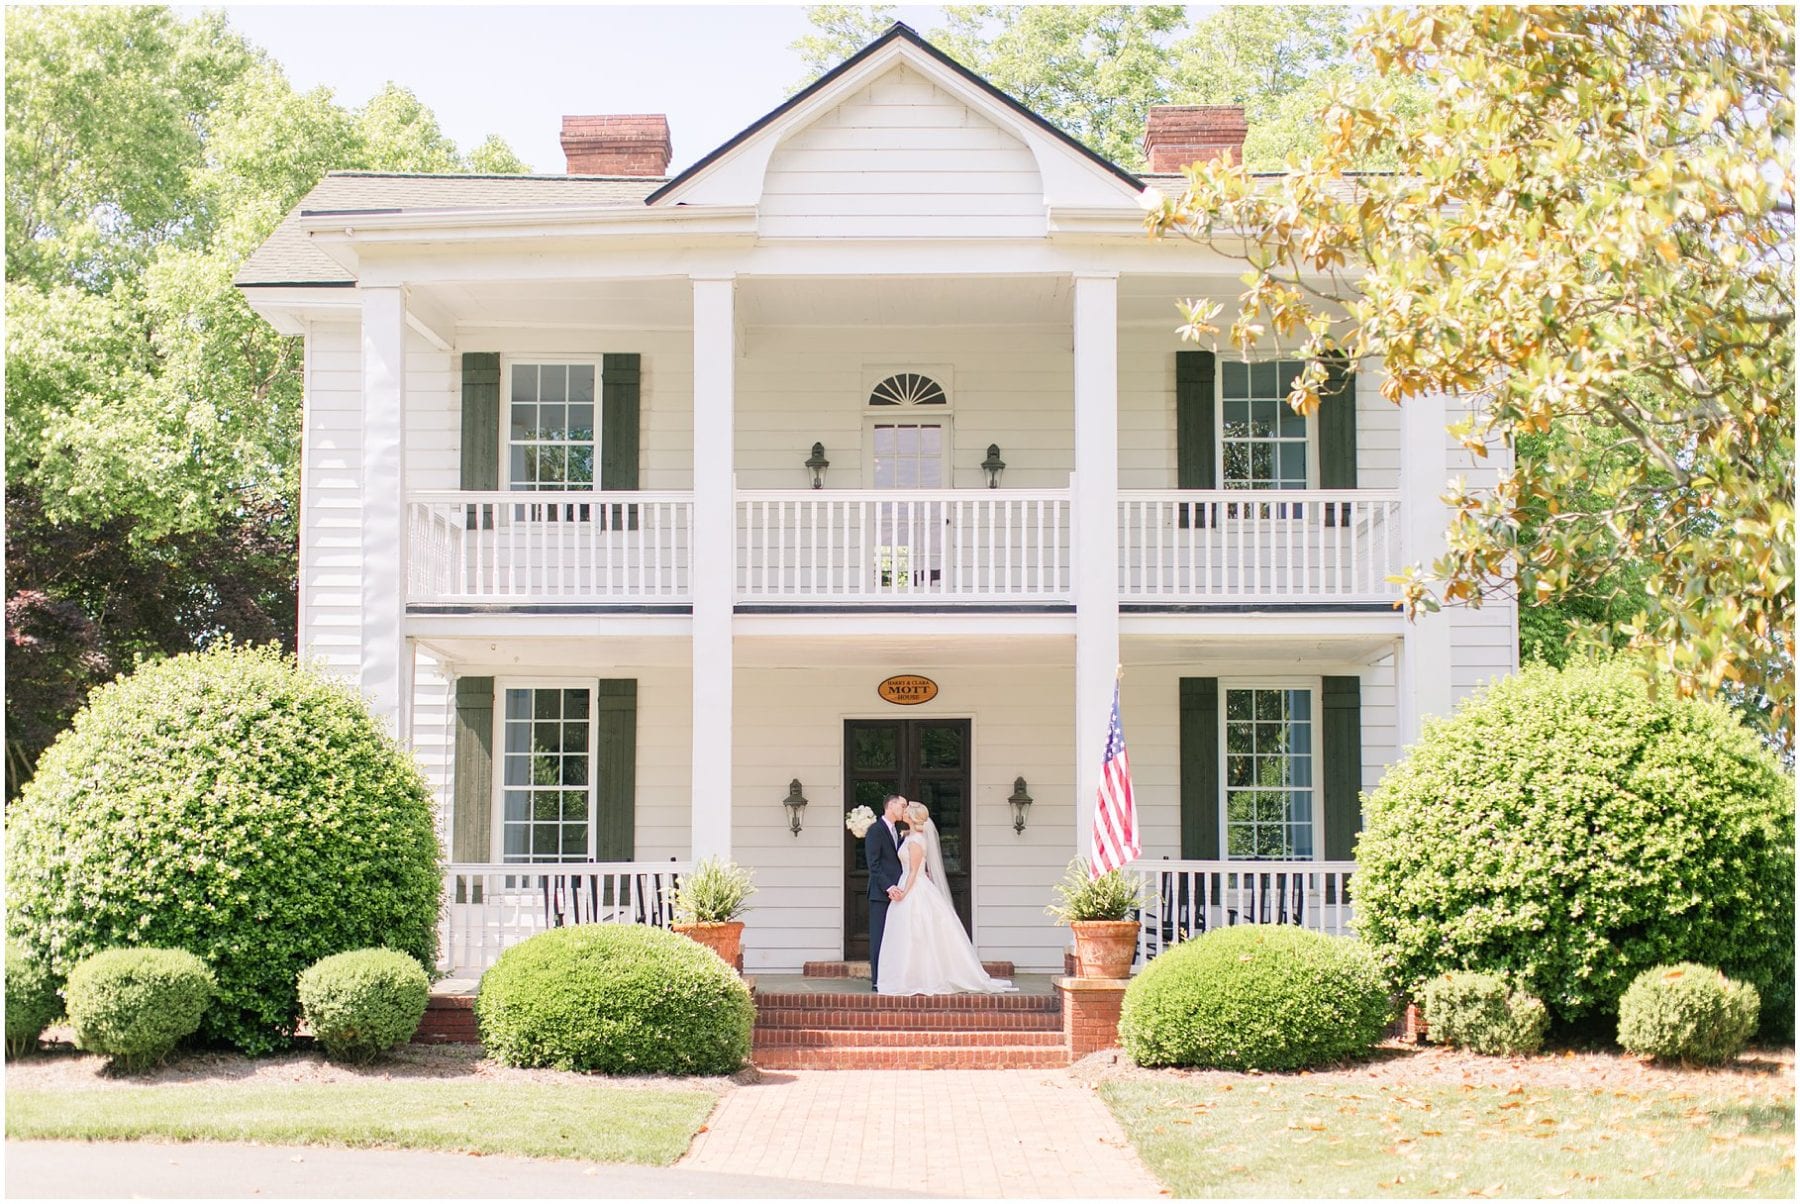
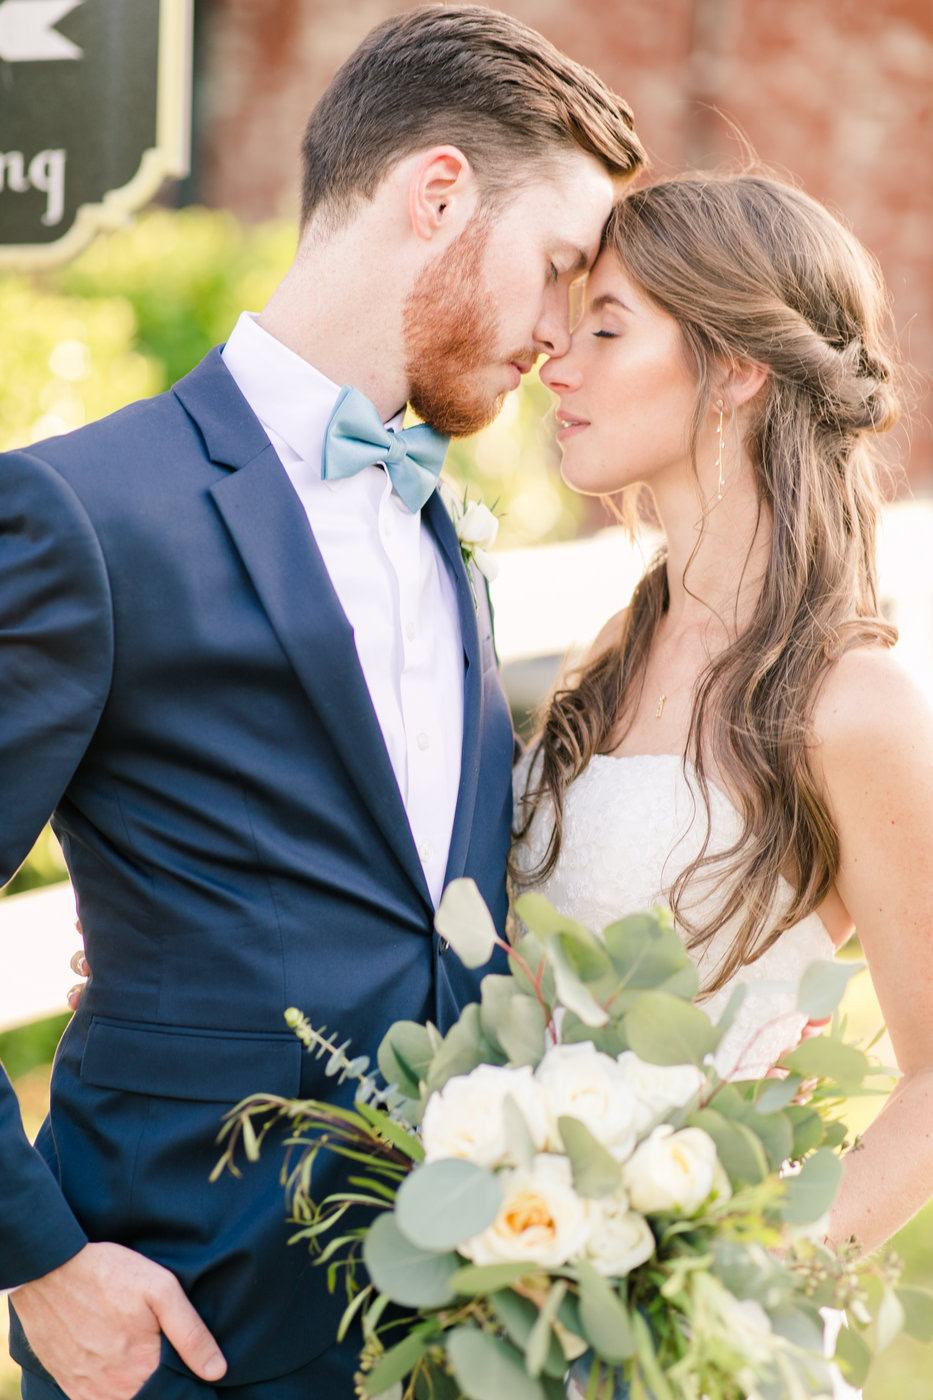
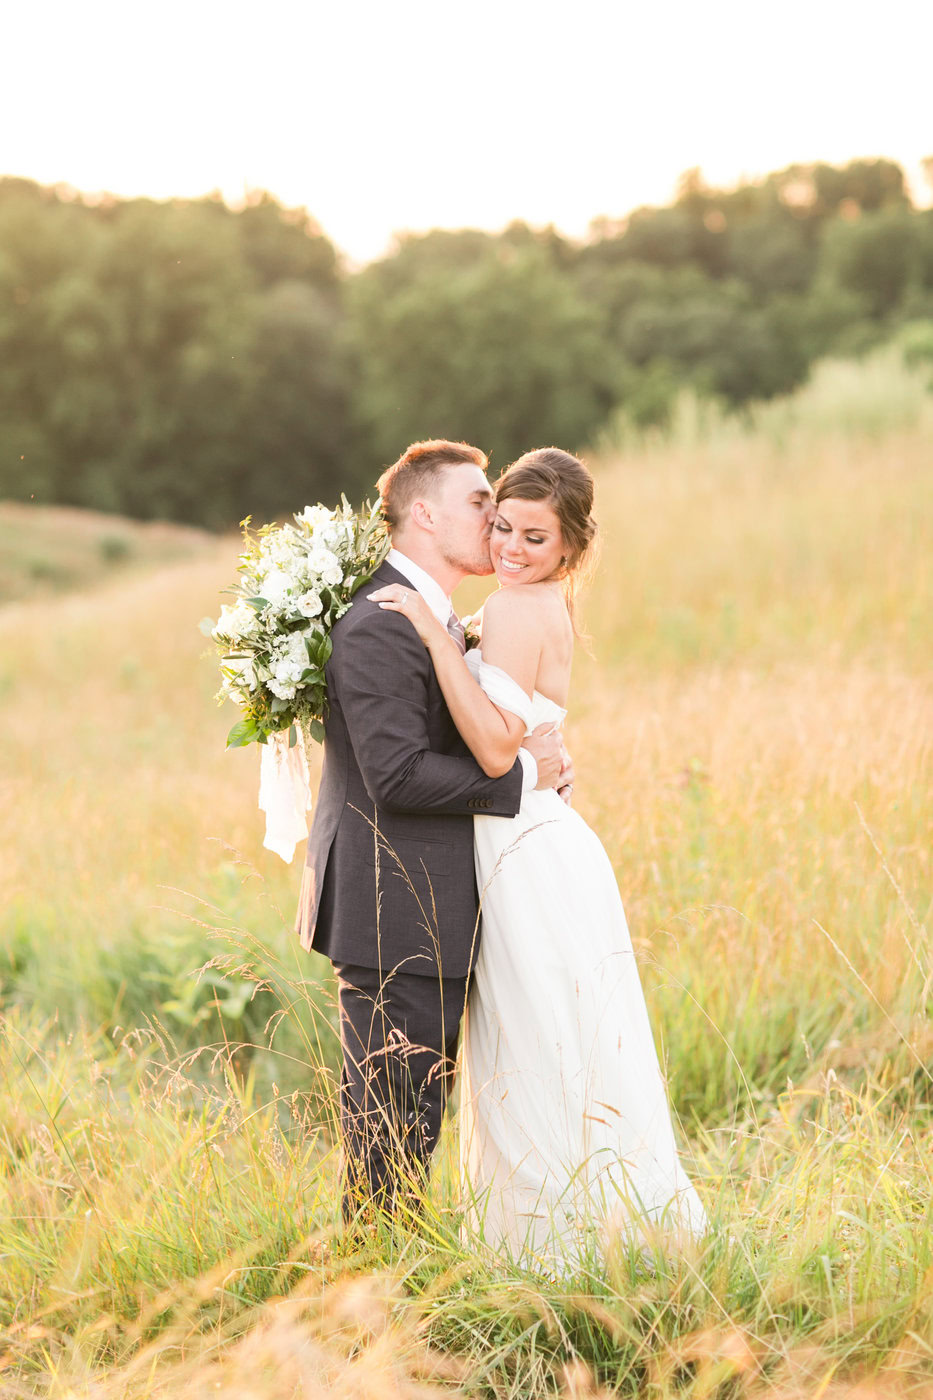
Let me start this post with a disclaimer that I am by all means NOT a master of shooting film. I literally just got my film camera in August (as in less than two months ago) and I’ve only shot THREE rolls on it so far, but I’ve already had so many questions about it! Which is so surprising, flattering, and just fun! Film photography has reignited my initial love for photography in the first place. I’m challenged to think more intentionally about composition, lighting, expression, and what’s in the foreground and background. I can’t just snap away because I only have 24-36 shots until the roll runs out! I’ve noticed that the photos I’ve taken with my film camera have been some of my favorite shots from this entire YEAR and I believe that’s due to 1) the “film” look in general and 2) me being intentional while I shoot. I encourage every photographer to shoot a roll of film every once in a while… it’s just fun!! And the anticipation of waiting to see how your images look is exciting in ways that digital typically doesn’t ;) So in the spirit of reigniting your initial love and appreciation for photography… here are 3 steps to getting started with film photography!
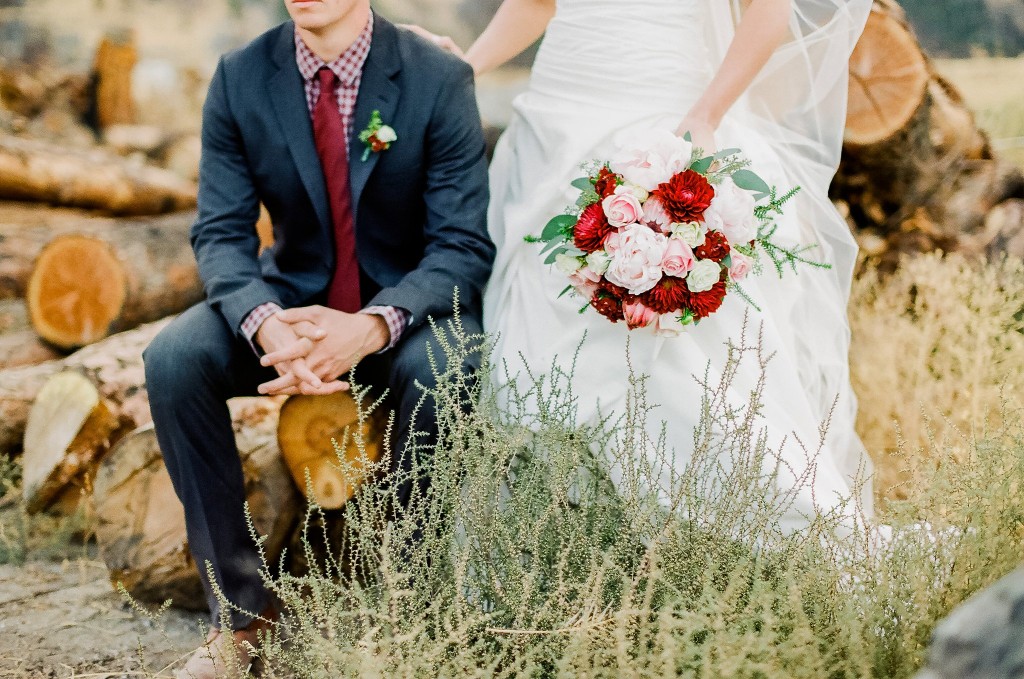
Step 1: Get comfortable with shooting in manual. It’s one thing to be in full control of your digital camera’s settings when taking a picture you can check right away for exposure. It’s another world to not be able to see that picture after you press the shutter button! Learn how adjusting aperture, ISO, and shutter speed affect your images on a digital camera and be familiar with how to change these settings quickly on your film camera… though you probably won’t be touching ISO as much as you would for digital! If these terms are all new to you, do a quick Google search on how to shoot in manual. Your life will be forever changed.
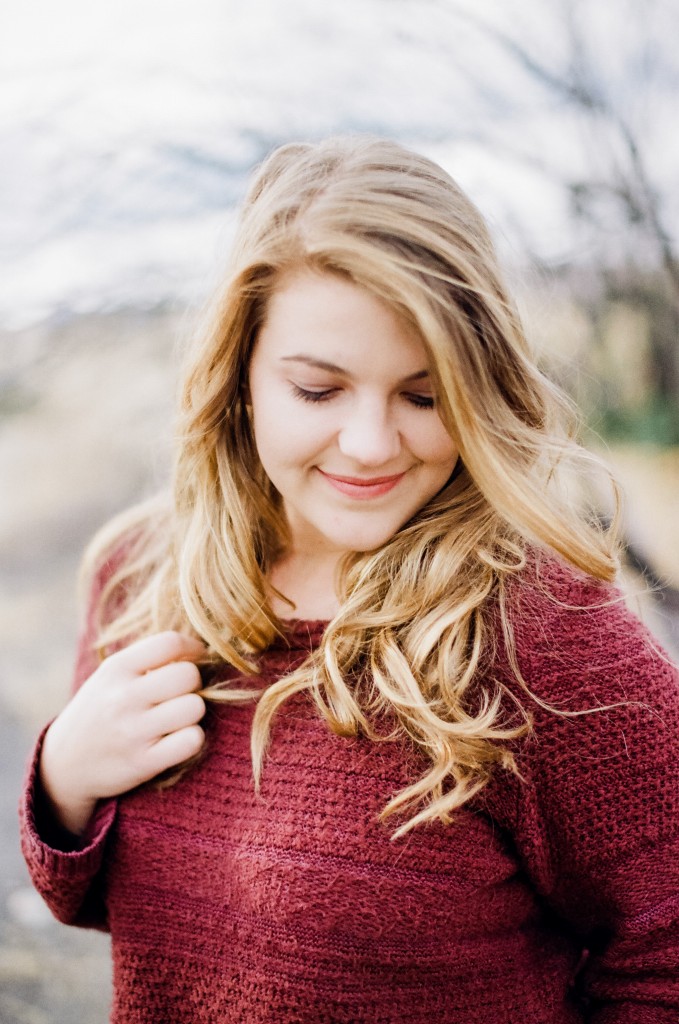
Step 2: Start with a basic SLR that can work with the lenses you already own. Search for film bodies that fit L series Canon lenses for example and buy one of the cheaper bodies that has high ratings. My film camera, the Canon Elan, cost less than $100… and I had to do some research on which body to get, but at the end of the day I settled for one that seemed to have good reviews, offered 6 autofocus points, and fit all of my Canon lenses. You definitely don’t need a medium format Contax 645 to get started with film… don’t overthink it! :)
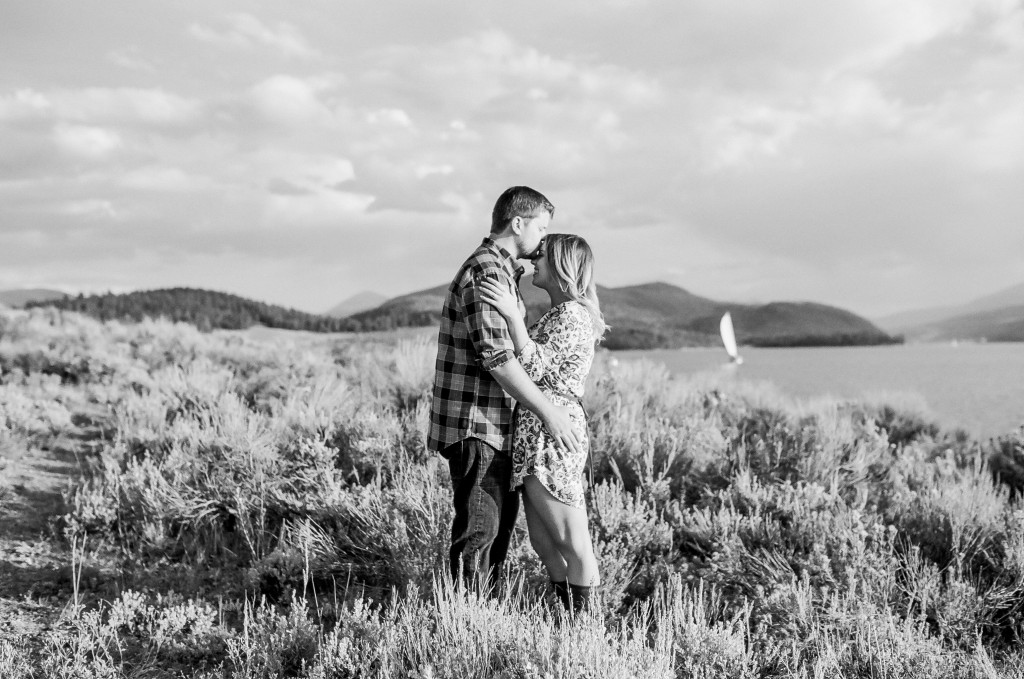
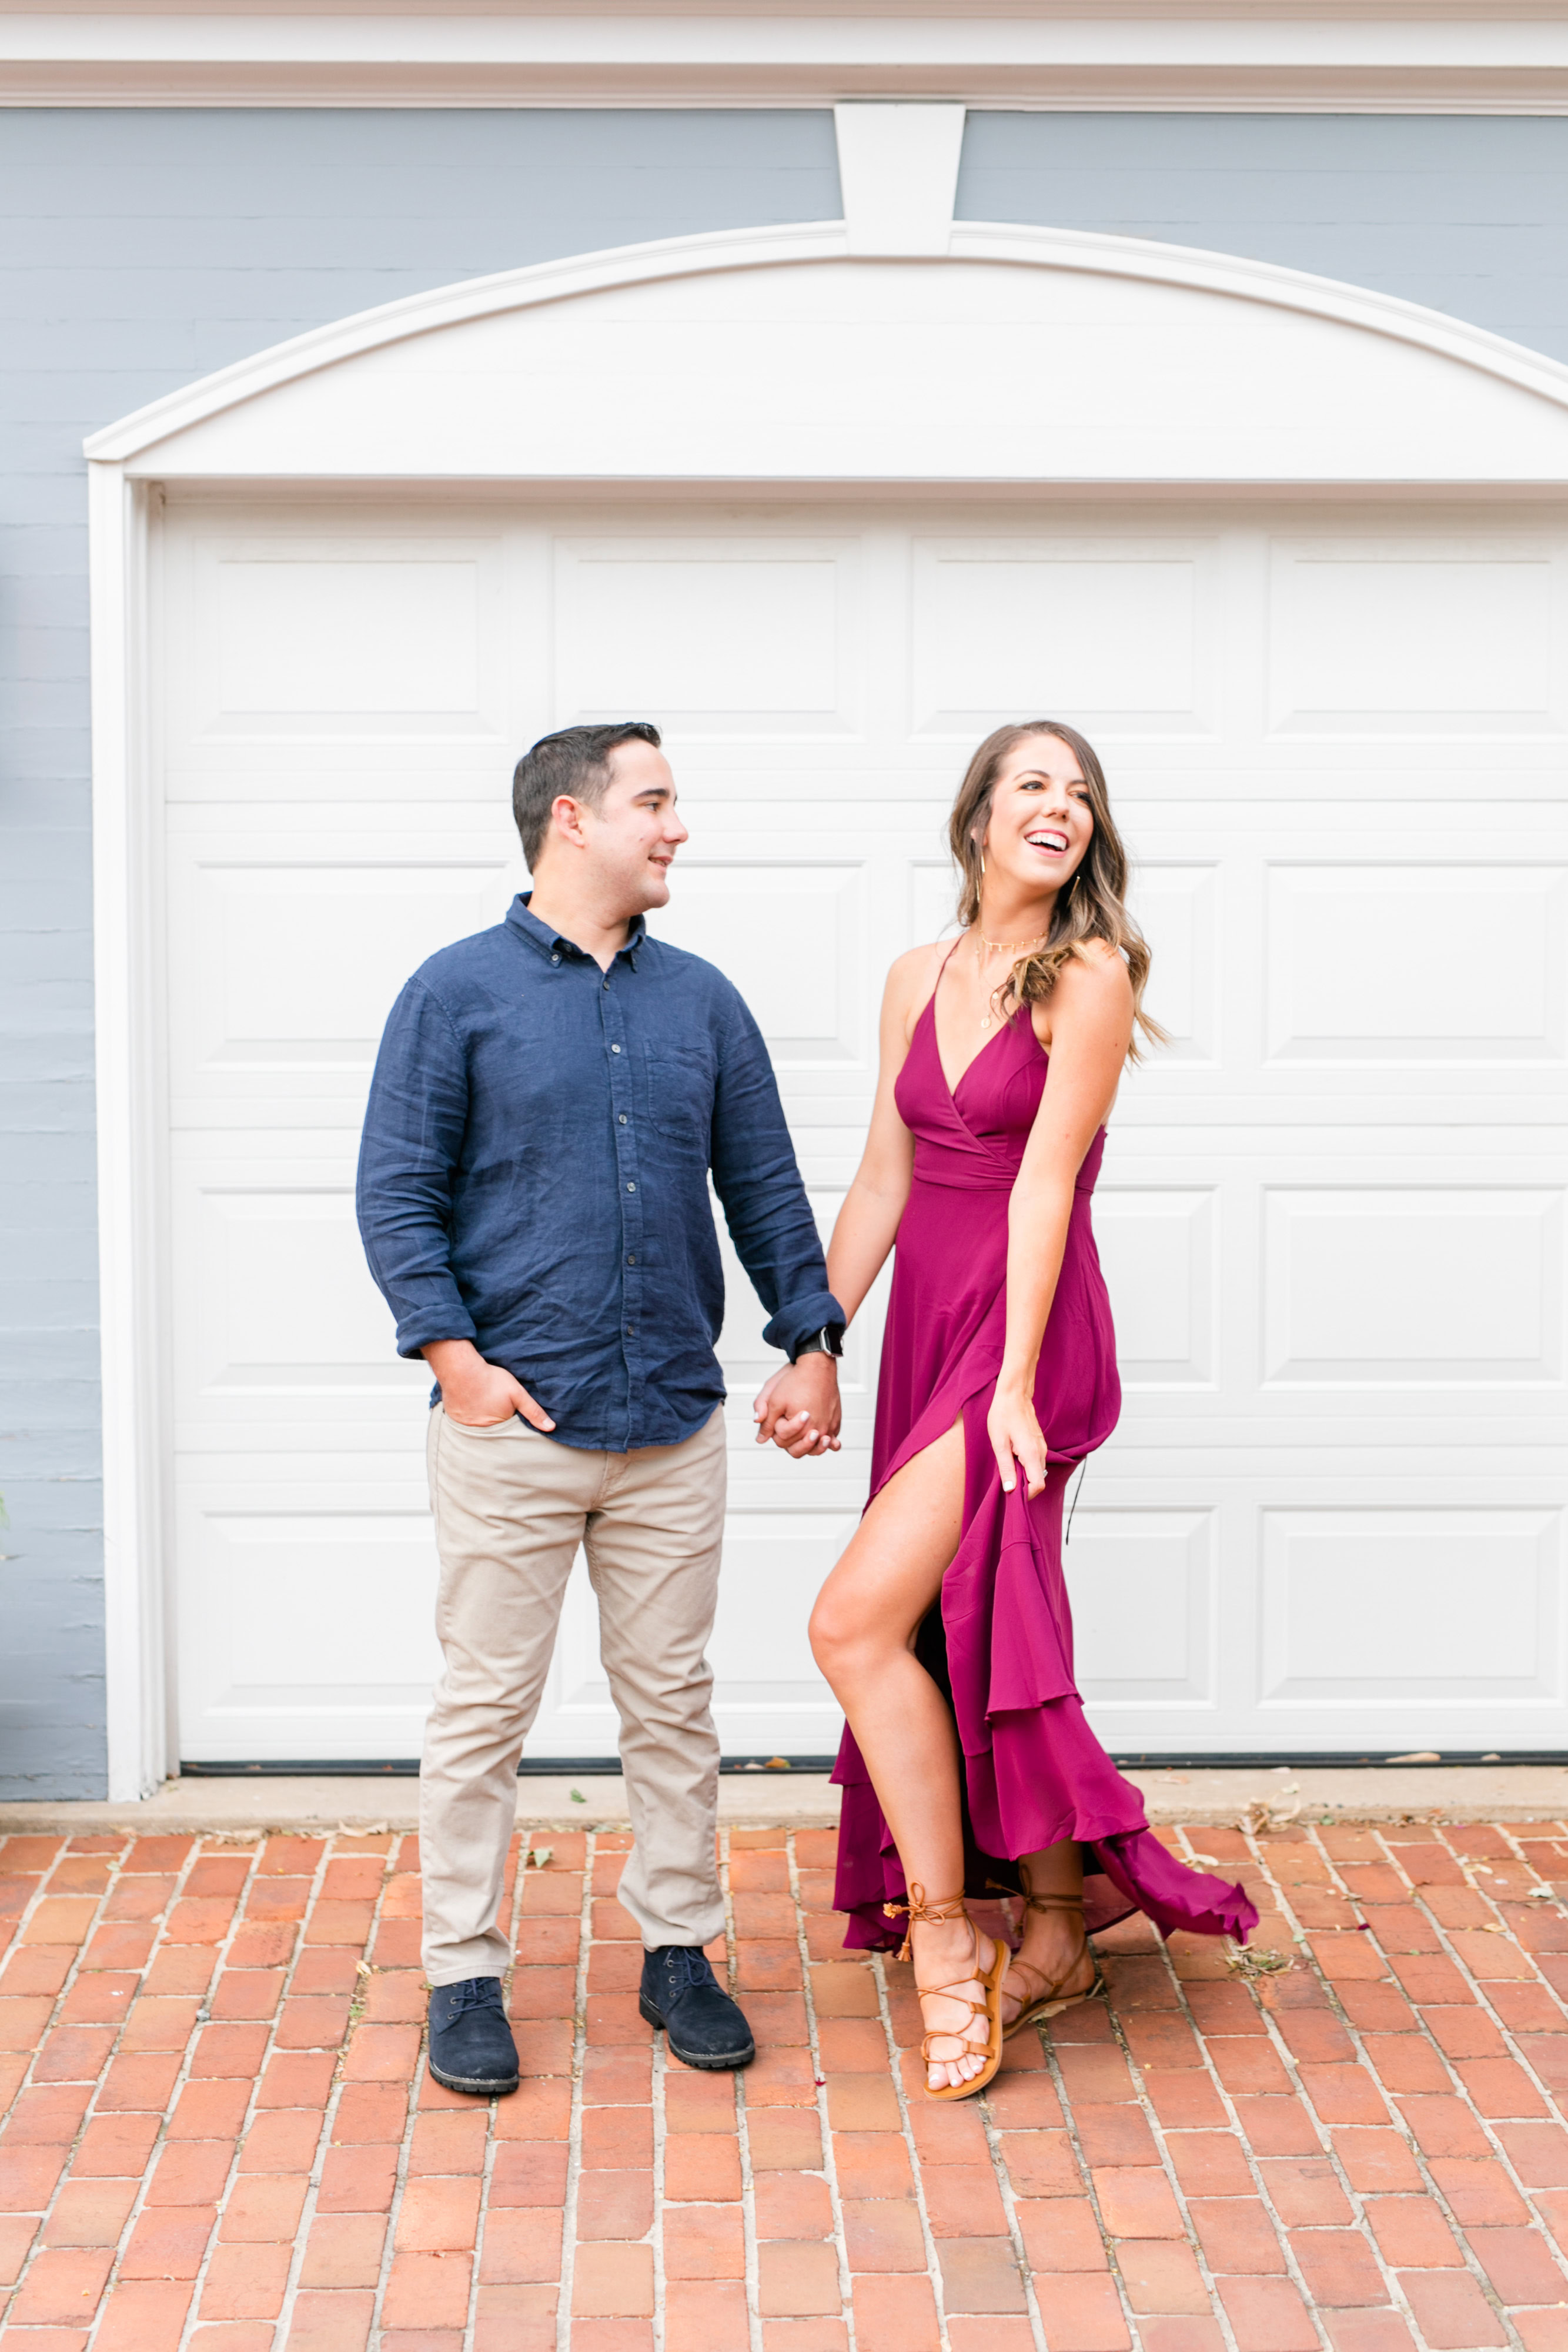
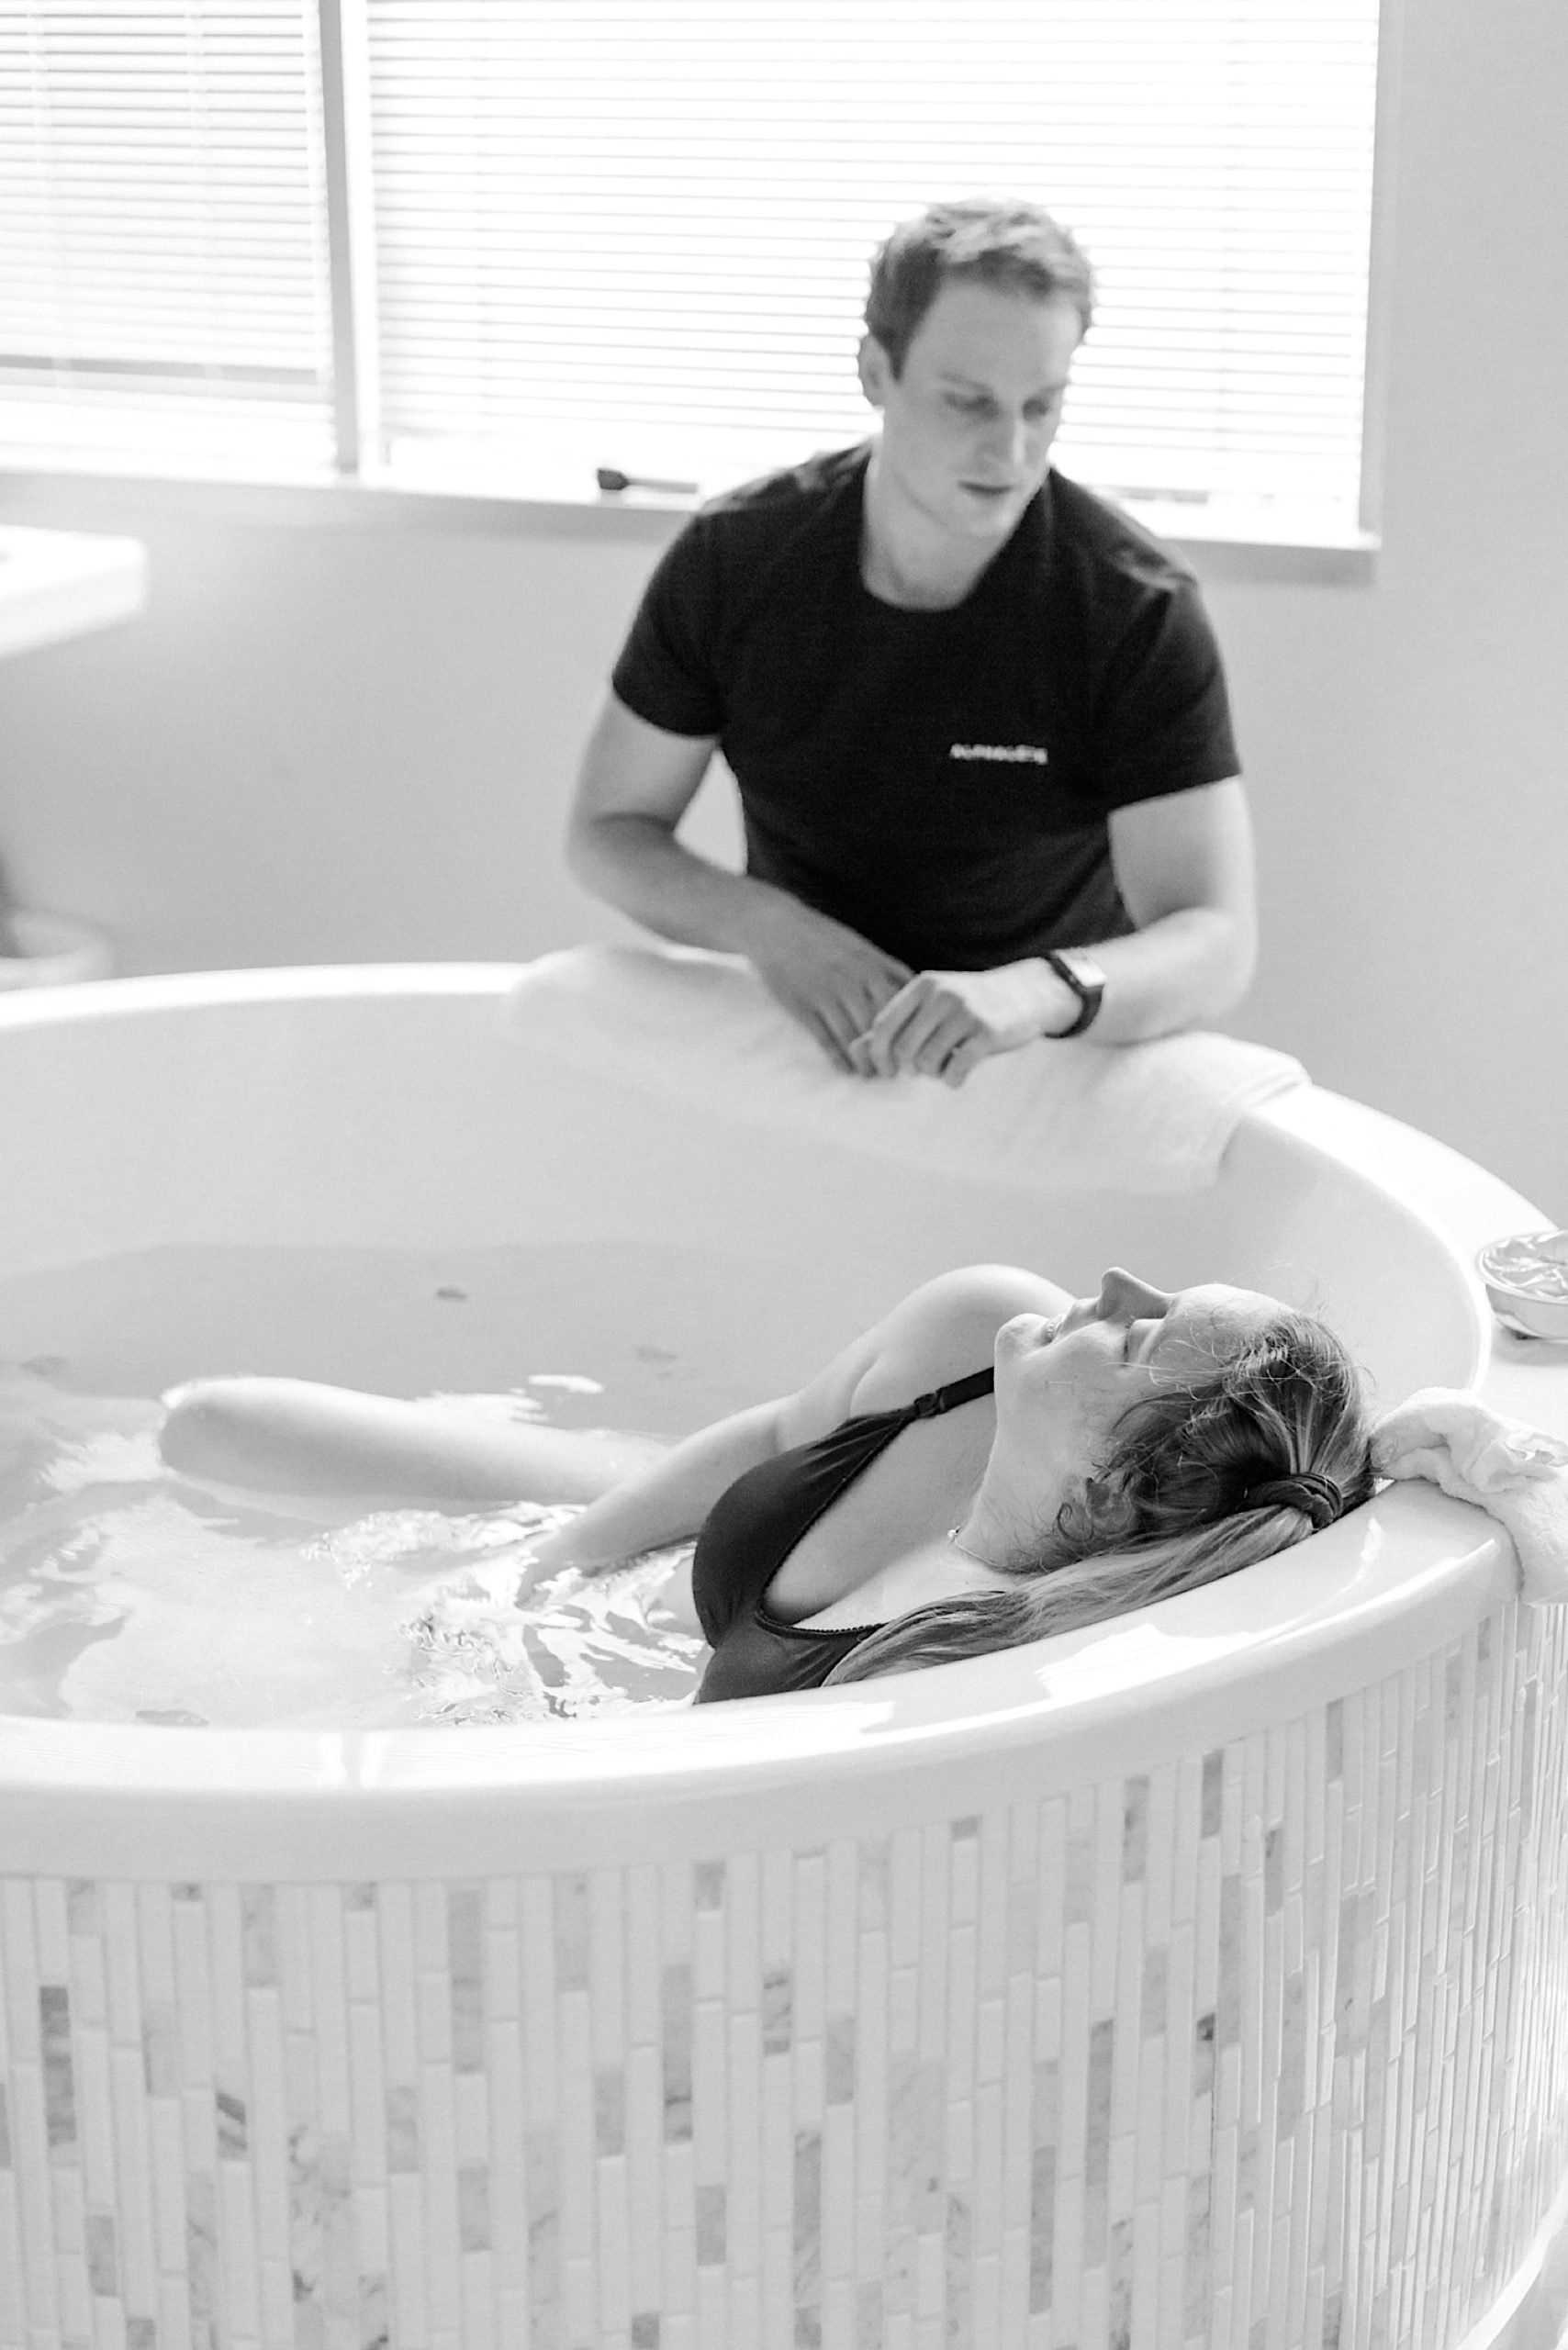
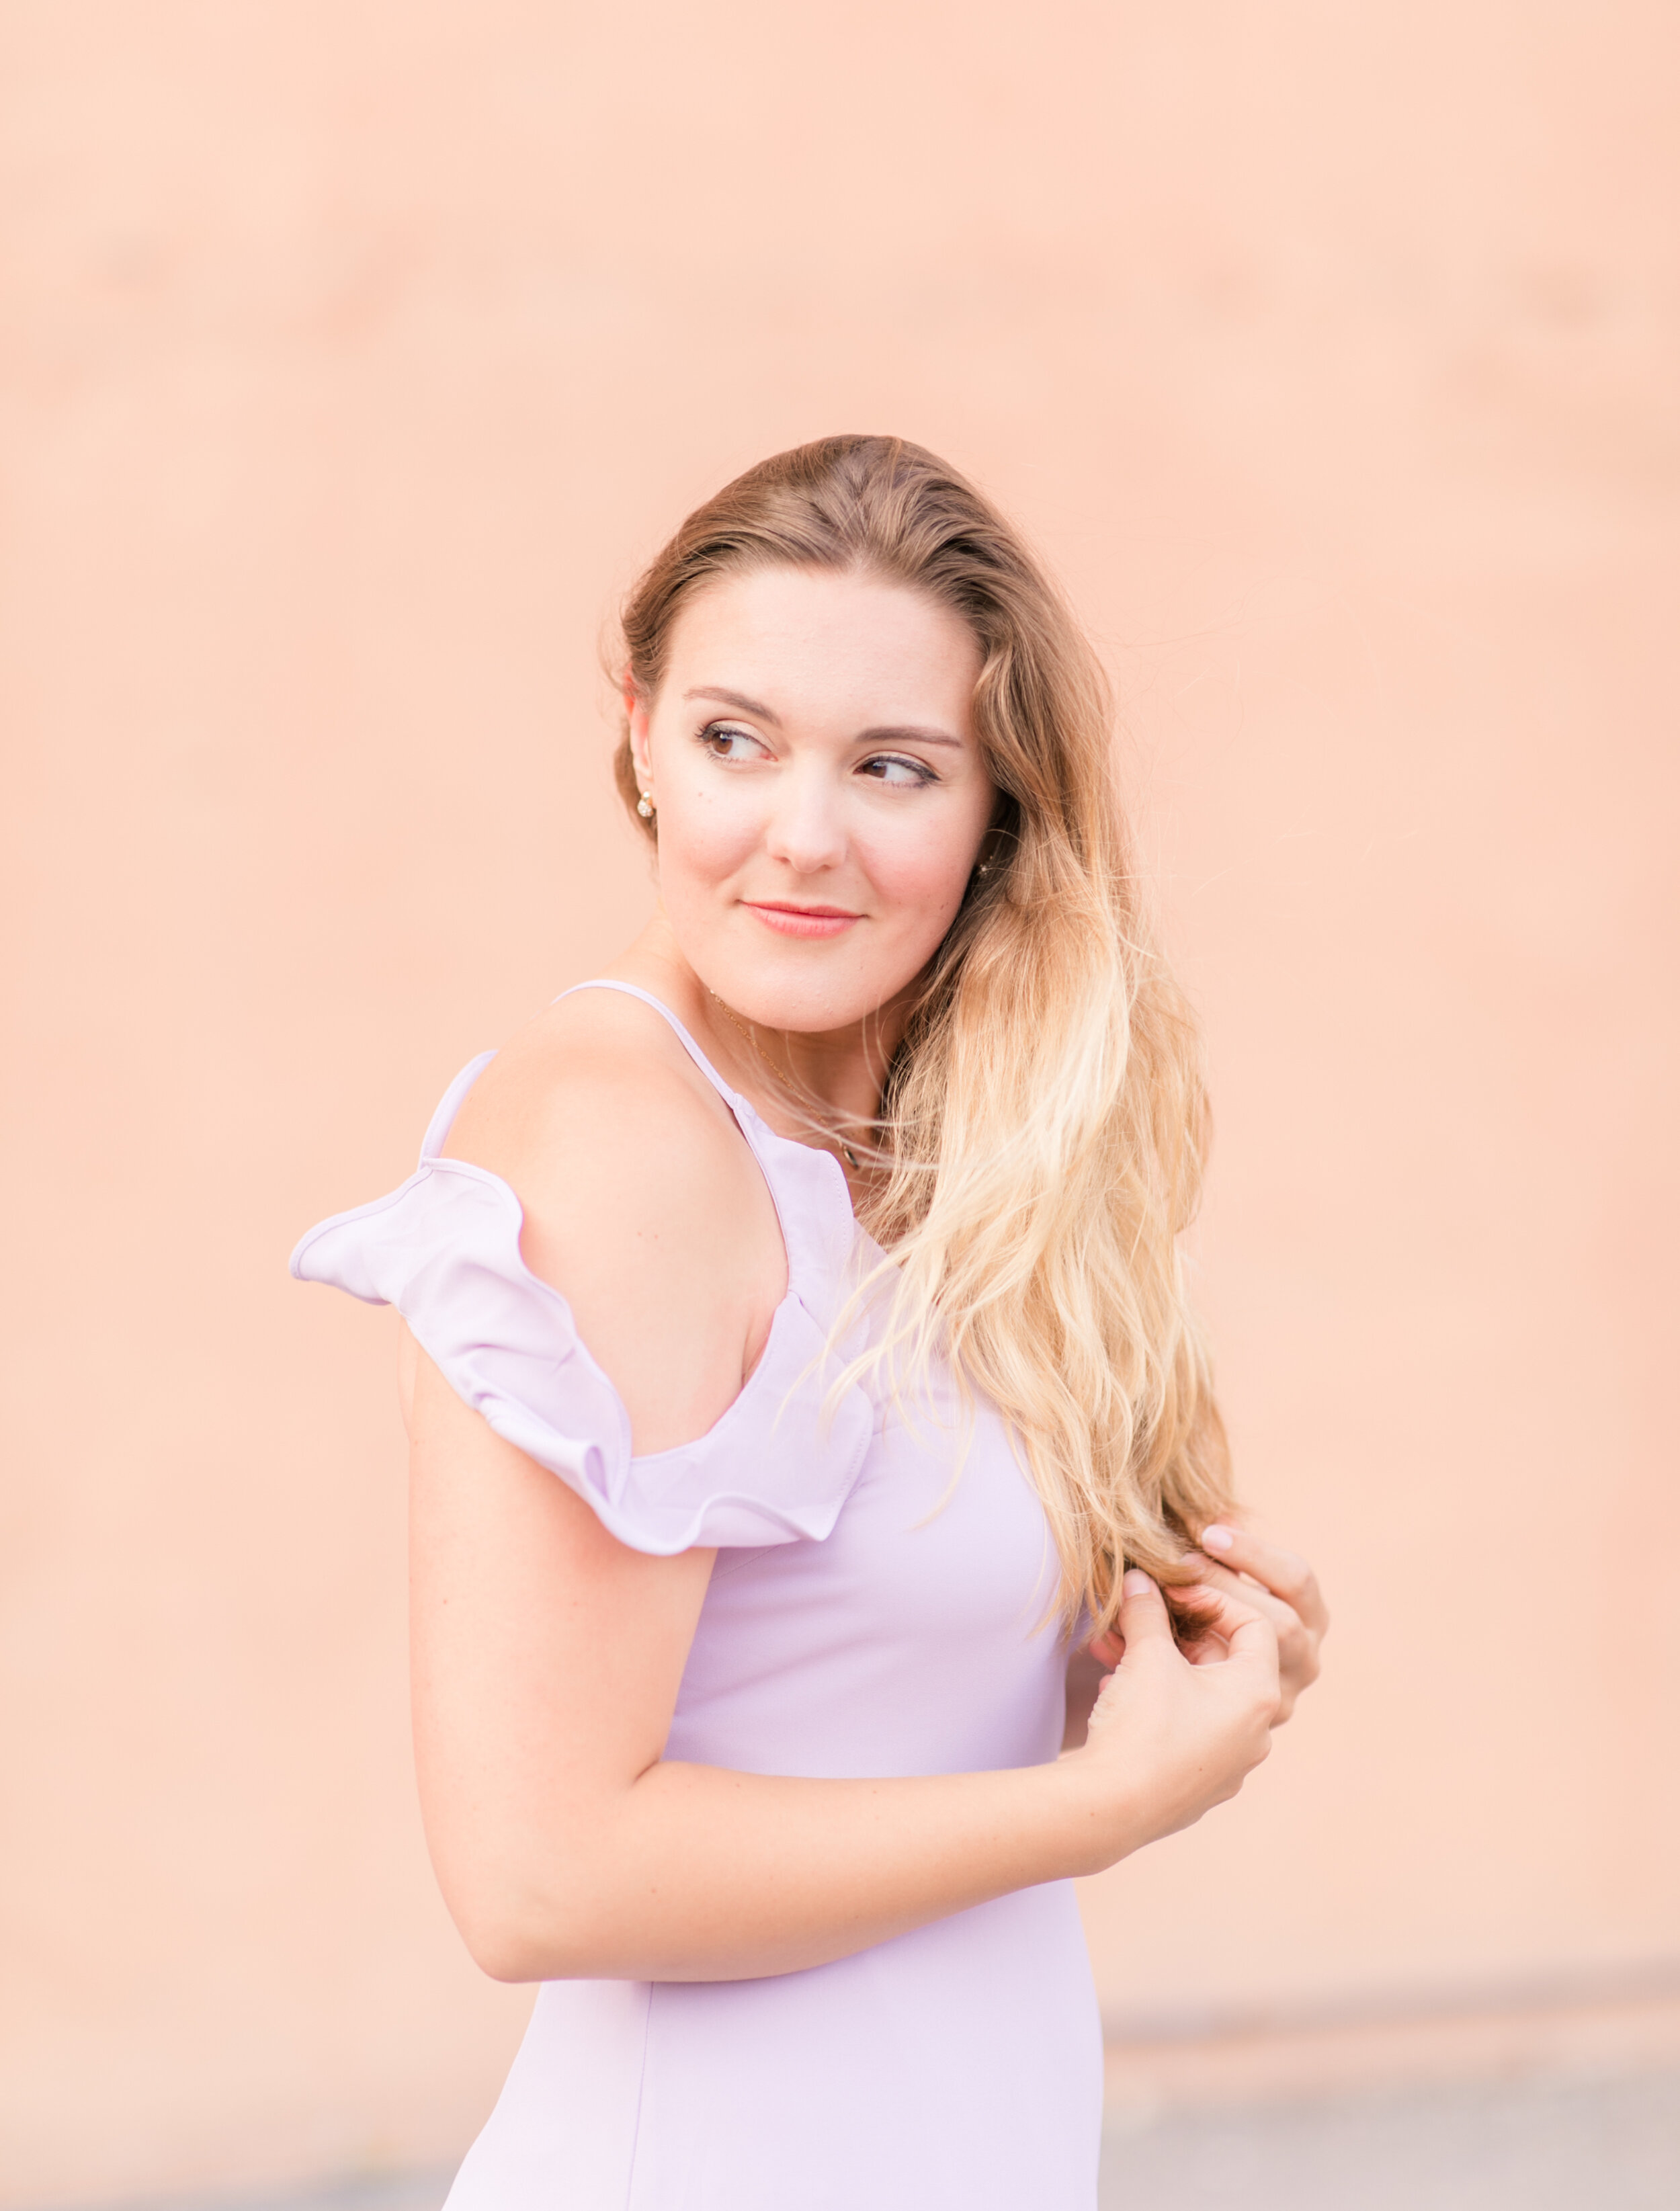
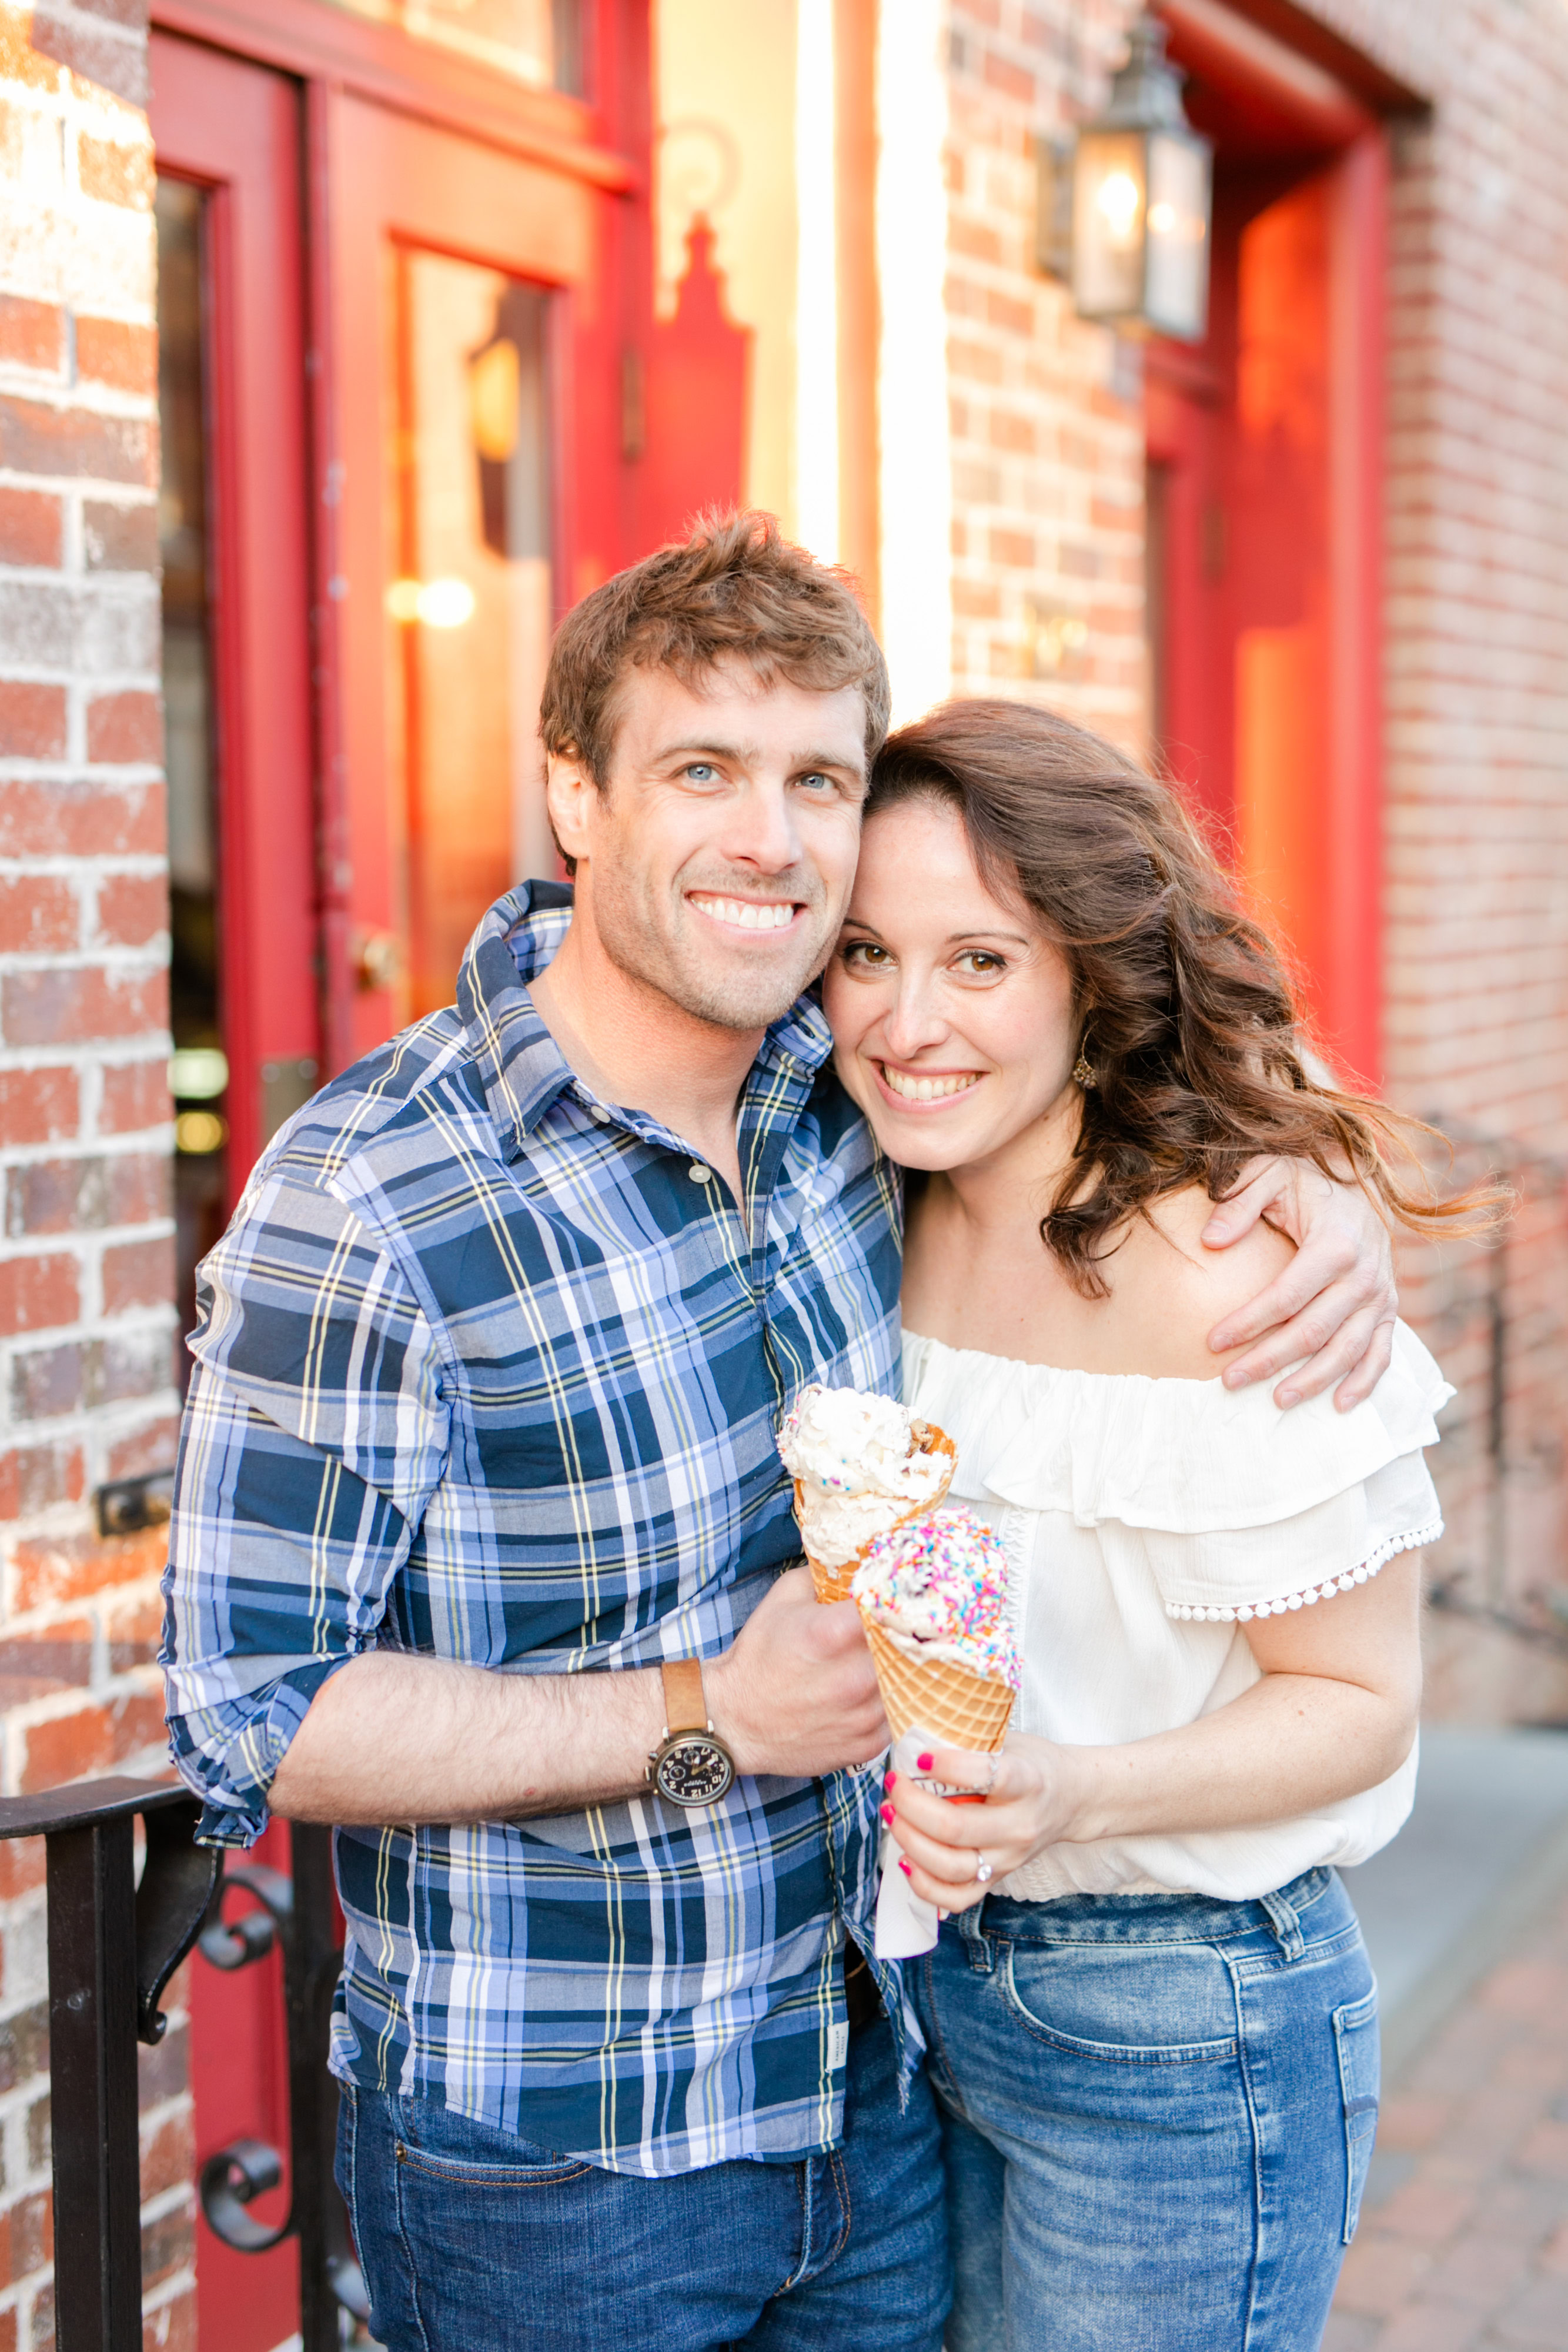
Step 3: Bring all of your photography knowledge to the table. My first roll was Fuji 200 and it was honestly the cheapest film I could find at the time. I didn’t want to “waste” an expensive roll of film, so I started with the low end stuff because I figured it would look pretty bad. I was so surprised when I got the prints back to see how well the roll had actually turned out! I think it’s because after shooting portraits of people for 5+ years now, I’m used to looking for flattering light, clean backgrounds, and creating natural movement and expressions in my photos. Because I already knew how to shoot in manual, it was just a matter of using the camera’s built in light meter to set my exposure and then doing what I normally do! I realized the shots I liked best on my Fuji rolls were taken in the shade with cooler (as in temperature) backgrounds, and the Kodak shots I liked best were taken out in the open in diffused light with warmer backgrounds. Of course, take this all with a grain of salt because I’ve only shot a few rolls, but I just thought I’d share my observations so far!
Tip: You are probably going to want to overexpose your film just a bit! So when the marker gets to the middle of the light meter, bump it up a tad more! Also, you will probably want to invest in a real light meter and not rely on your in-camera one for the most accurate exposure. I just haven’t taken that step yet. Haha.
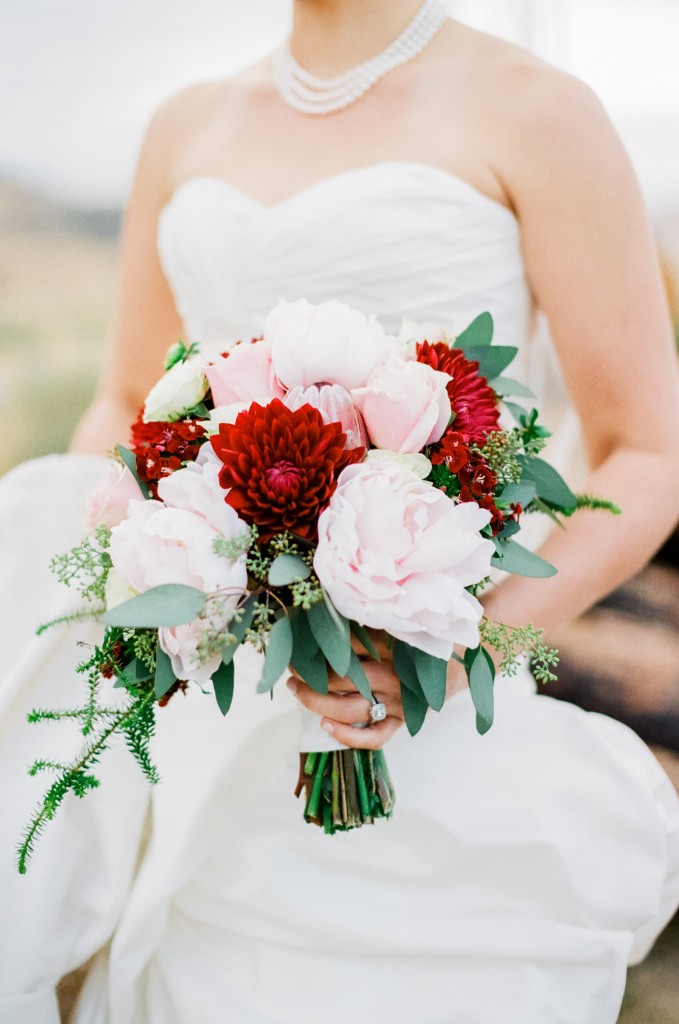
Technical information: I’ve been shooting with a Canon Elan camera, Canon 50mm 1.2L lens, Sigma 35mm 1.4 lens, Fuji 200, Kodak Gold 200, and Fuji 4ooh film. My favorite film so far has been the Kodak gold, another very cheap type of film! I got my very first Fuji 200 roll developed at a one hour photo lab in Denver, Colorado for $17 (prints and scans included) and they surprisingly did a better job developing my film with minimal grain and crisp, clean colors than the professional print lab I spent $70 on. Strange. I do not know why this happened but I’m really curious to learn more about the development and scanning process.
So, I hope this VERY basic intro to shooting film was helpful… and that no one is judging me for posting this when I’ve only shot three rolls of film. I promise you guys I really am so surprised myself at how much simpler it was than I expected it to be and I think I was just more scared of the “unknown” than anything else and was just hesitant to try. So my advice would be… TRY! It’s so fun! Figure out what works best for you and the “look” you’re going for and don’t be discouraged if it isn’t quite right for a while. Learning is the fun part and makes it so much more rewarding when you do get a shot (or a roll!) you love!
So go spend that $75 on a film body, buy some $10 film, pop your favorite lens on, experiment with exposure using a light meter, shoot in a variety of light and backgrounds, and take your first few rolls to CVS or a local film lab while you’re still learning. I’m honestly considering shipping my next roll back to the one hour photo I used in Denver… they did that good of a job! Haha! Have fun and stay inspired!!
